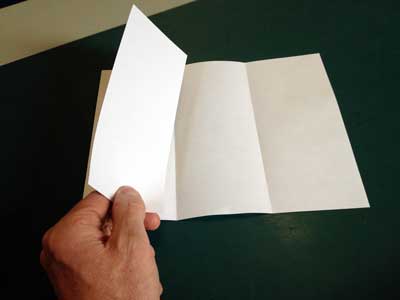
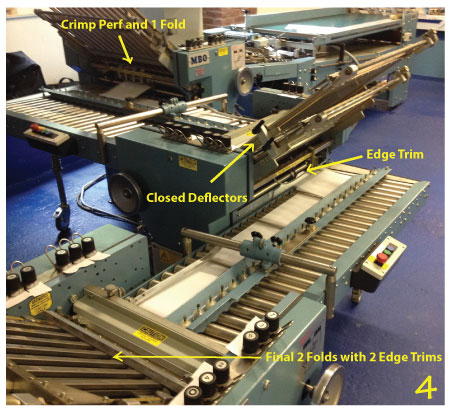
 In a previous article about using crimp lock perforators we show you how to use that tool to effectively run certain difficult saddle stitching jobs with a little less hassle. Today we’re going to show you how to automatically do a letter fold with a loose insert tucked inside, as shown in the photo at right. Technically speaking, we are producing a 4-panel roll fold in two sections. Then we do some trimming to produce the desired result. You can see the full layout of the folding machine operation in photo 4 below.
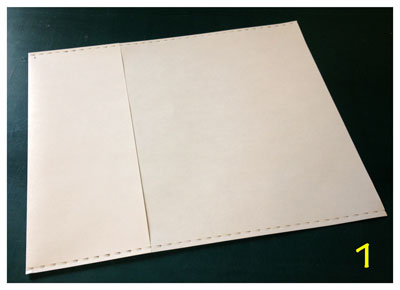 In Step One we do one short fold in the main parallel section and apply the crimp perf to each side as shown. (Photo 1) This is the panel that will end up being the loose insert in the finished piece. The crimp perf needs to be straight and it needs to be secure enough to hold the panel for the next step.
In Step Two we close off all the fold plates in the 8-page right angle section and we trim the folded lead edge from the sheet. (Photo 2) This is why the crimp perforation is necessary. It holds the trimmed panel in 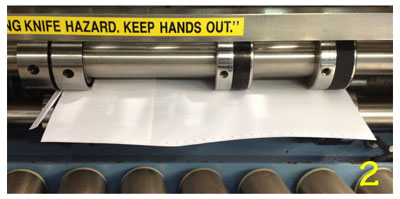 place so it can be folded in the 16-page right angle section. Without something to hold the panel, it would of course just float randomly, causing all kinds of problems.
If you’ve never done edge trimming on the folding machine, be patient with the learning curve. Every folder is slightly different and it can be a little tricky. Generally speaking, the narrower the cutoff, the harder it is to run the edge trim.
If you can do ¼” to 3/8” it will be easier to deflect the trimmed waste. With the crimp perforator you 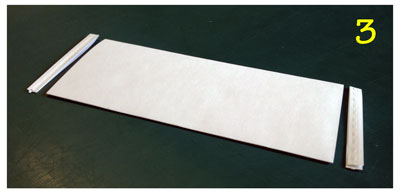 will need a minimum of ¼” for most jobs. You also need to ensure that registration is perfect here because the trimmed edge now becomes the lead edge for the next fold. Variations here will affect the final folds.
Of course we used the Technifold Multi Tool to do the edge trimming in this job. 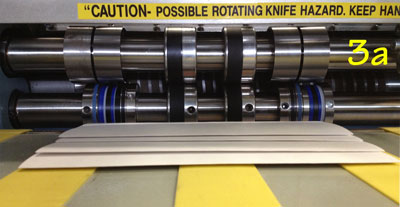 With our Multi Tool your trimming will have a guillotine-cut finish instead of the fuzzy edges that often happen with traditional rotary trimming tools. Since all the edges we’re trimming are part of the finished product, you definitely want to ensure they have a good, clean, perfectly straight edge.
In Step Three, we do the last two folds to create the letter fold. (Photos 3 and 3a) Here we also trim off both the head and the foot to give us the finished product—a letter fold with a loose insert tucked neatly inside as shown in the top photo.
 This is definitely an advanced technique because there are a lot of things going on that need to happen perfectly. It takes a little while to fine tune your setup, especially the first time you do it. You have three folds, two lines of crimp perforating, and three edge trims with waste deflection.
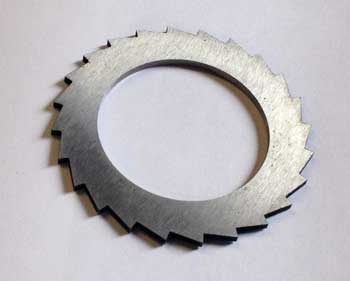
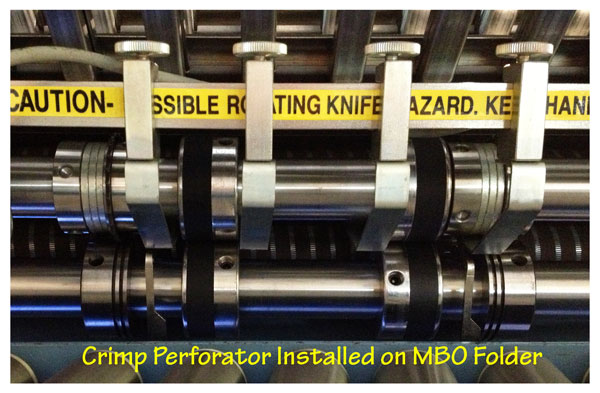
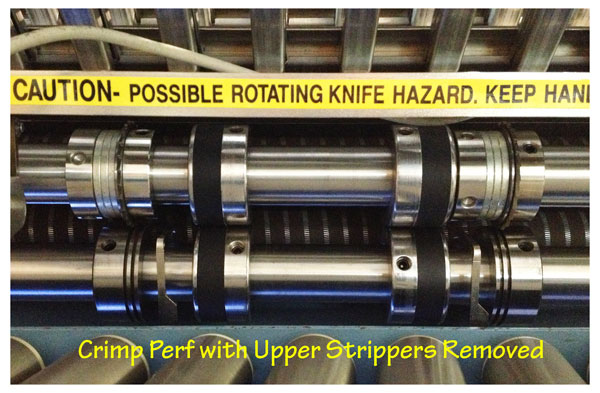
Bear in mind that a crimp perforator is not just any old perforator blade. You can’t just buy a blade to accomplish this. You need the entire kit to create this perf. (See photos below of an MBO Crimp Lock Perforator we used.) The perf blade runs inside a counter knife and the dimensions of each are critical. The crimp perf kit also gives you the option of applying one or two perf lines on each unit. Two lines gives you more hold than one. There are also special upper deflectors and lower strippers that fit this type of kit. The upper deflectors prevent the sheet from wrapping around the perf blade and the lower strippers prevent the sheet from getting stuck in the channel.
As always please feel free to share your comments, suggestions, and stories below or use the Contact Us form to ask us a question.


