“A clean machine is a happy machine,” declared by many a bindery supervisor over the years.
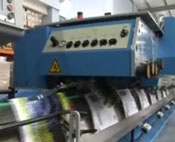
Keeping printing and bindery equipment clean in a dusty environment is a big challenge when so many dust gremlins are conspiring against you. Each day you have paper dust, spray powder from printing presses as well as atmospheric dust, pollen and pollutants barging in. If your bindery or pressroom is near a delivery dock, you also have road dust and dirt intruding.